
News Directory
How to clean deep groove ball bearings?
1. Introduction
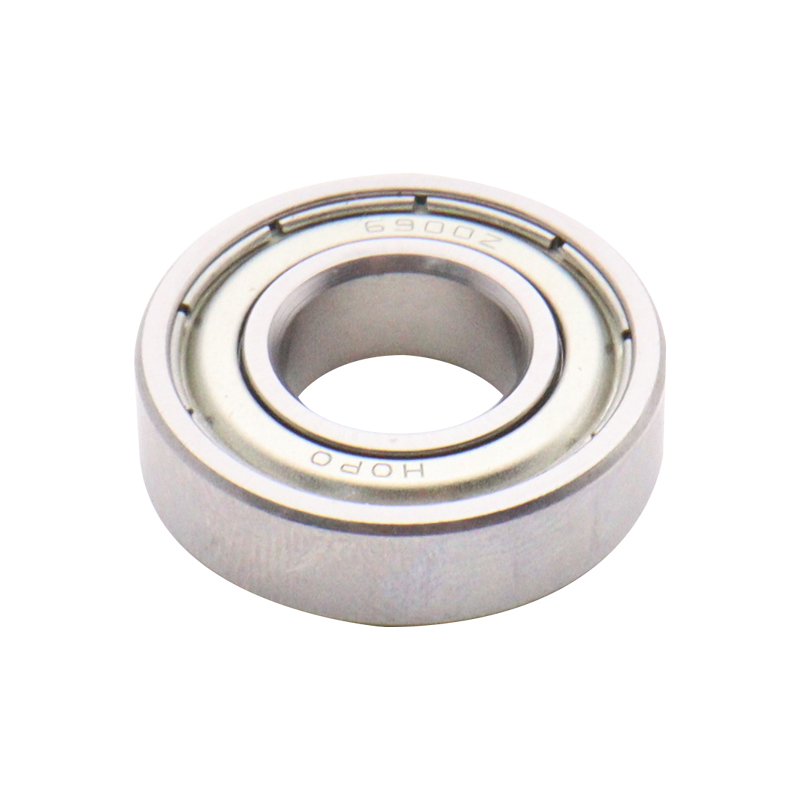
Deep groove ball bearings are one of the most common and widely used types of rolling-element bearings. They are incredibly versatile, designed to handle both radial and axial loads due to the deep continuous raceway grooves where the balls sit. They are called "deep groove" because the raceway radii are only slightly larger than the balls, providing maximum contact area and high load capacity.
Applications
These bearings are essential components in a vast array of machinery across nearly every industry, owing to their high speed capacity, low friction, and relative ease of maintenance.
| Application Area | Example Equipment |
|---|---|
| Automotive | Transmissions, Alternators, Wheel Hubs |
| Industrial | Electric Motors, Pumps, Gearboxes, Fans |
| Household | Washing Machines, Vacuum Cleaners, Power Tools |
| Aerospace | Actuators, Control Systems |
| Medical | Dental Equipment, Imaging Devices |
Importance of Regular Cleaning
Regular cleaning is absolutely vital for the optimal performance and extended lifespan of your deep groove ball bearings. Neglecting this maintenance can lead to friction, heat buildup, and premature failure.
| Benefit of Regular Cleaning | Detailed Explanation |
|---|---|
| Maintains Performance | Cleaning removes contaminants (dust, dirt, old grease) that increase friction and drag, which can lead to overheating. A clean bearing runs smoother and cooler at its intended operating speed. |
| Extends Lifespan | Abrasive particles are the primary cause of wear on the balls and raceways. By removing these particles, you significantly reduce wear, thereby prolonging the operational life of the bearing assembly. |
| Prevents Corrosion | Old or degraded lubricant can contain moisture or corrosive byproducts. Cleaning allows for the inspection and removal of this harmful residue before it causes permanent rust or pitting damage to the precision surfaces. |
| Optimizes Lubrication | The cleaning process removes old, degraded grease, allowing the application of fresh, clean lubricant that can perform its function without being diluted or compromised by contaminants. |
2. Tools and Materials Needed
To effectively clean your deep groove ball bearings and prepare them for re-lubrication, gathering the necessary tools and materials beforehand is essential. Using the correct items ensures safety, efficiency, and the complete removal of contaminants without damaging the bearing components.
The table below lists all the equipment and supplies required for a professional bearing cleaning procedure.
| Category | Item | Purpose |
|---|---|---|
| Safety Equipment | Safety Glasses | Crucial for eye protection against solvents, pressurized air, and flying debris. |
| Chemical-Resistant Gloves | Protects hands from harsh cleaning solvents and petroleum-based products. | |
| Cleaning Agents | Solvent (e.g., Mineral Spirits, Isopropyl Alcohol, Kerosene) | The primary agent used to dissolve and flush out old grease, oil, and embedded contaminants. |
| Small Container for Solvent | A clean receptacle for submerging the bearings during the solvent bath and rinsing stages. | |
| Cleaning Tools | Small Brushes (e.g., Toothbrush, Parts Cleaning Brush) | Used for scrubbing the inner and outer rings, raceways, and the cage to remove stubborn residue. |
| Lint-Free Cloths or Paper Towels | Essential for the initial wipe-down and for resting the clean components during air drying. | |
| Drying & Lubrication | Compressed Air (Optional but Recommended) | Used to quickly and thoroughly dry the bearing, ensuring no moisture or solvent remains (must be used at low pressure). |
| Bearing Grease or Lubricant | New, high-quality lubricant is necessary for the final step to restore the bearing’s function and prevent immediate corrosion. | |
| Disassembly | Bearing Removal Tool (if bearings are installed) | Specialized tool (e.g., a puller) required to safely extract the bearing from its housing without damaging the shaft or the bearing rings. |
3. Step-by-Step Cleaning Process
Following a systematic process is key to ensuring that deep groove ball bearings are cleaned thoroughly and safely without causing damage. Each step below is designed to remove contaminants, dry the assembly, and prepare it for optimal re-lubrication.
Step 1: Safety First
- Wear Safety Glasses and Gloves: Always put on your safety glasses and chemical-resistant gloves before handling solvents or beginning the cleaning process. This protects you from chemical splashes and debris.
- Ventilation: Ensure you are working in a well-ventilated area when dealing with solvent fumes.
Step 2: Remove the Bearings (If Necessary)
- Safe Extraction: If the bearings are mounted, use the appropriate bearing removal tool (puller) to safely extract them from the shaft or housing. Avoid hitting the bearing rings directly with a hammer, as this can cause immediate indentations and internal damage.
Step 3: Initial Wipe Down
- Remove Bulk Contaminants: Use a lint-free cloth or paper towel to wipe off any heavy, excess dirt, caked-on grease, or grime from the exterior surfaces of the bearing. This prevents large contaminants from polluting your main solvent bath.
Step 4: Solvent Bath
- Submerge: Place the bearings in a clean container filled with the chosen solvent (e.g., mineral spirits).
- Soaking: Allow them to soak for several minutes. This time is necessary for the solvent to penetrate the old lubricant and begin to loosen dirt trapped in the raceways.
Step 5: Scrubbing
- Thorough Cleaning: Use a small brush (like a toothbrush) to scrub the bearings thoroughly. Concentrate on the grooves (raceways) and the area around the cage, where particles tend to settle.
- Rotation: Continuously rotate the inner ring while scrubbing. This helps agitate the solvent and flush out deeply embedded contaminants from between the balls and the raceways.
Step 6: Rinsing
- Fresh Solvent: Remove the bearing from the dirty solvent and rinse it with a fresh batch of clean solvent.
- Inspection: Rotate the bearing gently. It should spin freely and smoothly without any gritty feeling. If it still feels rough, repeat Steps 4 through 6.
Step 7: Drying
- Remove Moisture: The bearing must be completely dry immediately after cleaning to prevent rust.
- Method 1 (Preferred): Use clean, dry compressed air at a low pressure to blow-dry the bearing thoroughly. Crucially, do not allow the bearing to spin at high speeds with compressed air, as this can damage the cage or rolling elements.
- Method 2: Allow the bearing to air dry completely on a clean, lint-free surface.
| Drying Caution | Potential Risk |
|---|---|
| Using High-Pressure Air | Can cause the bearing to spin too fast, potentially leading to cage damage or ball skidding. |
| Incomplete Drying | Residual solvent or moisture will lead to rapid corrosion (rust), destroying the bearing’s precision surfaces. |
Step 8: Lubrication
- Apply Lubricant: Immediately after drying, apply the appropriate type and amount of bearing grease or oil. The choice depends on the specific application’s speed, temperature, and load requirements.
- Distribution: Gently rotate the bearing by hand multiple times to ensure the lubricant is evenly distributed across the balls and raceways.
Step 9: Reinstallation (If Necessary)
- Proper Seating: If the bearings were removed, carefully reinstall them into their housing. Use proper mounting tools to apply force to the correct ring (inner ring when pressing onto a shaft; outer ring when pressing into a housing).
- Alignment: Ensure the bearings are properly seated and aligned to prevent vibration and premature failure.
4. Best Practices and Tips
To maximize the benefits of cleaning and extend the operational life of deep groove ball bearings, incorporating specific best practices into your maintenance routine is essential.
Frequency of Cleaning
The required cleaning frequency is highly dependent on the operating conditions, environment, and usage intensity.
| Environment / Usage Condition | Recommended Cleaning Frequency | Rationale |
|---|---|---|
| Harsh, Dirty, or Wet | Frequent (e.g., Every few weeks or months of operation) | High risk of abrasive contamination and moisture ingress requires constant vigilance. |
| High-Speed Applications | Scheduled intervals (Often coinciding with lubrication cycles) | High speed accelerates lubricant degradation and heat buildup. |
| Clean, Enclosed Systems | Infrequent (e.g., During major equipment overhaul or annually) | Lower risk of external contamination means less frequent cleaning is necessary. |
| Performance Check | Whenever the bearing feels gritty or rough during manual rotation. | Immediate sign that contaminants have entered the raceways and must be removed. |
Choosing the Right Solvent
The solvent must be effective at dissolving the old lubricant without damaging the bearing components, such as seals, cages, or the metal itself.
- Effective Solvents: Mineral spirits (paint thinner), kerosene, or industrial degreasers are typically effective for petroleum-based greases. Isopropyl alcohol (IPA) is a good final rinse agent due to its quick evaporation.
- Solvents to Avoid: Avoid strong acids, strong bases, or any chlorinated solvents unless specifically recommended by the bearing manufacturer, as they can cause corrosion or damage plastic/rubber seals and cages.
Proper Lubrication Techniques
Cleaning prepares the bearing, but proper lubrication is what restores its protective function and performance.
- Type is Critical: Always use the lubricant specified by the Original Equipment Manufacturer (OEM), matching the load, speed, and temperature requirements.
- Amount Matters: Avoid over-lubrication. Excessive grease generates heat and increases drag. A common rule of thumb is to fill 20% to 40% of the bearing’s internal free space with grease.
- Distribution: Ensure the lubricant is worked into the raceways by gently rotating the inner ring by hand before reinstallation.
Safety Precautions
Safety must be maintained throughout the entire cleaning process, especially when handling tools and chemicals.
- Personal Protective Equipment (PPE): Reinforce the importance of wearing safety glasses and chemical-resistant gloves at all times.
- Compressed Air Warning: When drying, use compressed air at a low, regulated pressure. High-pressure air can cause the bearing to spin at dangerously high speeds, potentially damaging the cage and rolling elements or causing injury.
- Solvent Handling: Store solvents properly away from ignition sources and ensure adequate ventilation to prevent fume inhalation.
5. Troubleshooting
Even after a thorough cleaning and re-lubrication, a bearing may not perform as expected. This section addresses common post-cleaning issues and provides actionable advice for rectifying them.
Bearing Still Feels Rough
If a bearing feels gritty, rough, or stiff when rotated by hand immediately following the cleaning and lubrication steps, it suggests one of two primary issues: either contaminants remain, or permanent damage has occurred.
- Advise on What to Do:
- Repeat Cleaning: The most common cause is deeply embedded dirt that was only partially dislodged. Repeat Steps 4, 5, and 6 (Solvent Bath, Scrubbing, Rinsing) to ensure all old grease and debris are fully removed.
- Inspect for Damage: If roughness persists after a second cleaning, carefully inspect the balls and raceways under bright light. Look for signs of pitting (spalling), corrosion, or denting (true brinelling). If these signs of permanent wear are visible, the bearing has reached the end of its useful life and must be replaced.
Bearing is Noisy
Noise after cleaning and re-lubrication typically indicates a problem with lubrication, installation, or existing damage.
- Suggest Potential Causes and Solutions:
| Noise Type | Potential Cause | How to Address |
|---|---|---|
| Whining or Squealing | Insufficient Lubrication or Incorrect Lubricant Type. | Check lubrication fill level; ensure the correct grade/type of grease or oil for the application was used. Add lubricant if necessary. |
| Clicking or Rattling | Internal Damage (Pitting, Cracks in a ring or cage) or Foreign Debris. | Check for any remaining debris (re-clean if needed). If damage is visible, replace the bearing. |
| Vibration or Rumble | Misalignment during reinstallation or a damaged Shaft/Housing Seat. | Carefully remove and re-install the bearing, ensuring proper alignment. Inspect the seating surface for damage. |
| High-Pitched Squeal | Excessive Grease (Over-lubrication) generating drag and heat. | The bearing may need to run for a short time to purge excess grease, or the housing may need venting. |
Conclusion
The successful operation and longevity of precision machinery fundamentally rely on the health of its components, and deep groove ball bearings are no exception. This guide has underscored the critical role that regular and systematic cleaning plays in maintaining bearing integrity.
By diligently following the outlined steps—from initial safe removal and thorough solvent cleaning to meticulous drying and precise re-lubrication—you effectively eliminate abrasive contaminants and degraded lubricants that are the primary culprits of premature bearing failure.
We strongly encourage all readers to adopt these maintenance practices to not only extend the operational life of their bearings but also to ensure their equipment runs at its peak performance, minimizing unplanned downtime and reducing costly replacements. A small investment of time in cleaning today yields significant returns in reliability tomorrow.


 English
 中文简体
中文简体 عربى
عربى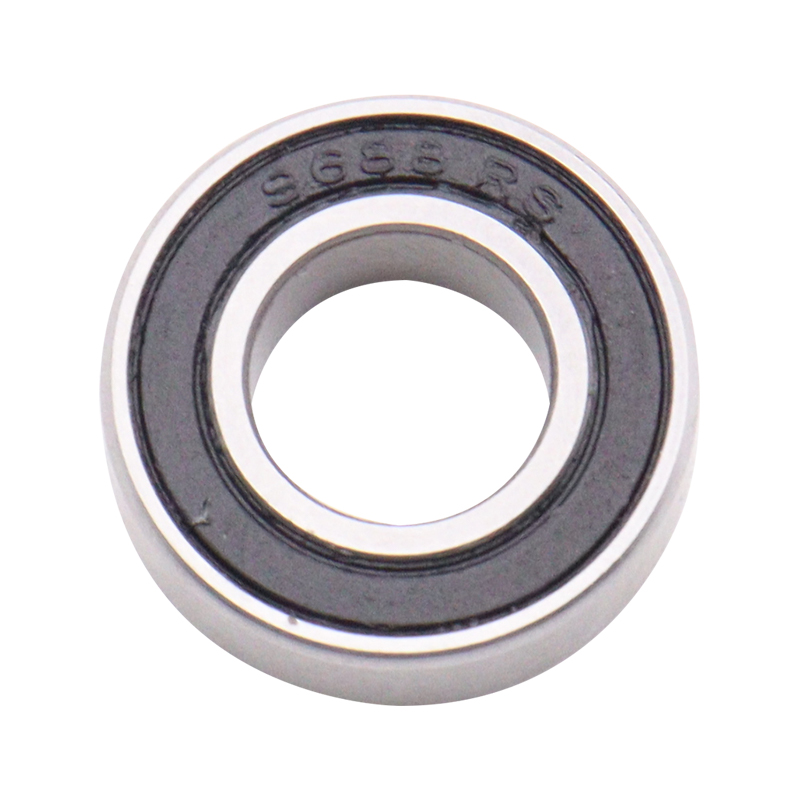

 Download Catalog
